OK, you have the base of a table top milling machine at your work nicely sand blasted and waiting to come home. Your car failed its MOT test and the MOT left on it ran out. They can't do the work until Thursday, its Saturday.
Normal person: ask someone to bring it back for you in their car.
Me: think how cool it would be if I could tow it home on my bike.
Types of trailer:
Two main types, dual wheel and single. The dual wheel ones are best for load carrying, the single wheels ones are a bit more complex but are better for touring.
Mine is a sort of bas**rd child of the two because one of the main things I needed was compactness and simplicity. Unlike the normal single wheelers (which attach to both sides of the axle) mine hooks on to the seat post like a childs pull along bike thing, it isn't as good in terms of load carrying but I could build it from scrap and it packs flat in seconds. A dual wheel one would have been prefered for my use but I would then have to make it much more complicated if I was to use kids bike wheels.
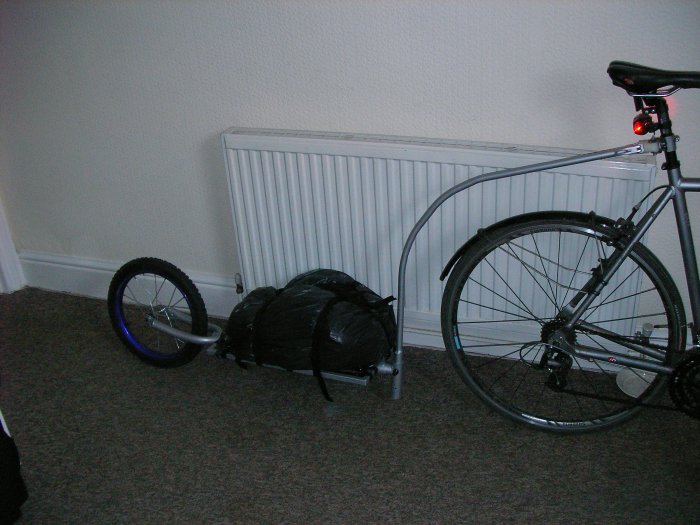
Here she is on the back of my pride and joy, a Ridgeback Genisis Day 1. You can see it is a flat bed, I wanted this so I could transport lots of different things. In this case it is just a rucksack full of heavy gear wrapped in a bin bag. I am also going to sort out a box for carrying odds and sods, I even have a silver and black folding one lined up.
You might notice the lack of ground clearance, this is because I welded the pipe where the hitching rod goes in the wrong way around. It is acutally possible to increase the ground clearance by inverting the trailer (while keeping the platform level) but then the fork doesn't look right.
The wheel and the fork came from a 16" wheeled kids bike. I got it from the tip for 3 quid. I carried it back from the tip on my bike, I got some very strange looks but still overtook someone. (p.s. Don't try that at home, it was all cycle path)
You can see the hitching bar is attached with a quick release, I had this spare, it just means you don't need a spanner.
![]()
The frame, it is some thin walled box section braized together. The spine is some random pipe and the tubes that join the frame to the spine are from the bikes frame. I braized the steel because it is only 1mm thick and my welding is not much cop. The upright piece at the end of the spine however is welded and very nice it looks too in all its upside down glory, DOH! The webbing is from the DIY store, I used pop rivets and some washers to attach them. The reason for doing this was so that I could access the frame for attaching straps etc while still being able to transport loose stuff like the rucksack. It really needs some more rivets for the bits where the straps cross but I ran out.
![]()
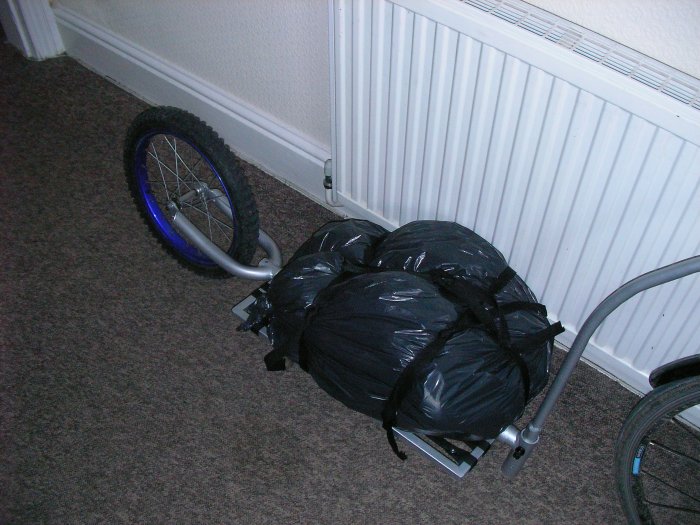
So this is the trailer in normal mode, the blue looks nice, the kids brakes weren't set up properly so this wheel kept all its paint/anodizing, looks nice.

And this is what happens when you remove the two pins holding the platform horizontal. It will now pack away nicely, in the boot, under a bed, against a wall ....
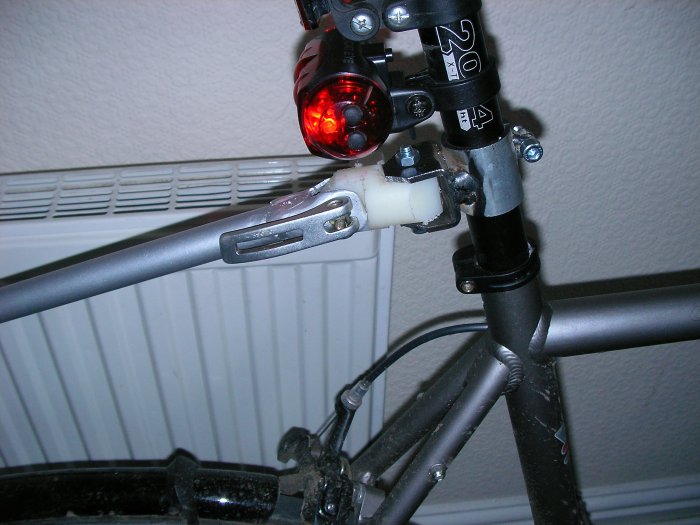
The hitch, I made this in a big rush, the hitching bar is some steel conduit, the post clamp was made from the stuff the spine was made from and a pair of nuts welded to form a clamp (needs painting). The universal joint is a lump of nylon that was hacked up with a hack saw in about 5min. I have again used a quick release for not all that quick but tool less release. Unlike a two wheel trailer it is important that this joint resist rolling, the trailer banks with the bike but should not just fall over!
Using it:
The first time I used it it was unpainted, had no webbing but did have 30kg of cast iron sat on the back. It was probably a bit more than I really should have carried and the low ground clearance caused some tapping over bumps. However I got home in one peice. Subsiquent use with quick releases installed and normal loads have been much better. It is very easy to tow (overtook 3 people) and I don't really notice it. That said I do have to think about my routes. On the road is no problem but I use some cycle paths and have to cross dual carriageways on the pedestrian crossings. If I choose the wrong ones I can end up in the central island with most of the trailer sticking out in the road. I actually quite enjoy riding it in the rush hour, the traffic is slow enough for me to keep up with and I seem to get more respect. I do need some lights for it though
Conclusion:
Its a bit of a freak but it did the job and cost less than 10 pounds. Its really good on days when I need to take things to work or bring them back I can leave the car at home and save the petrol and the hastle of parking.