Milling a prop blade for the Nautilus
NEW, I finally made the hub see the bottom of the page
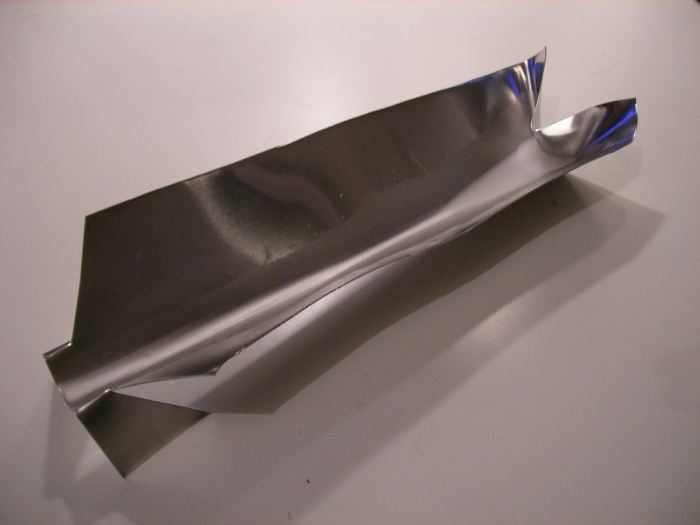
Here is how I made a delrin master of the propeller blade to be used on a 1/32nd scale model of the Nautilus from 20000 leagues under the sea.
The part has details on both sides and so both sides of the stock need to be milled, luckily the pattern is symmetrical so in theory you can just mill from one side, flip over and mill from the other.
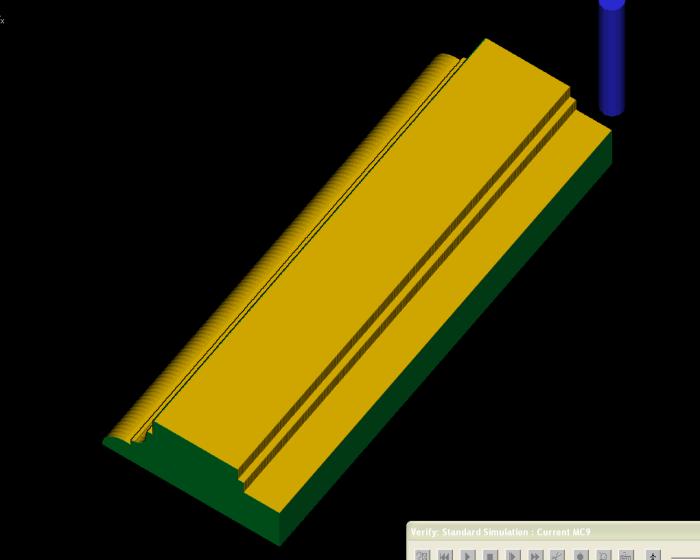
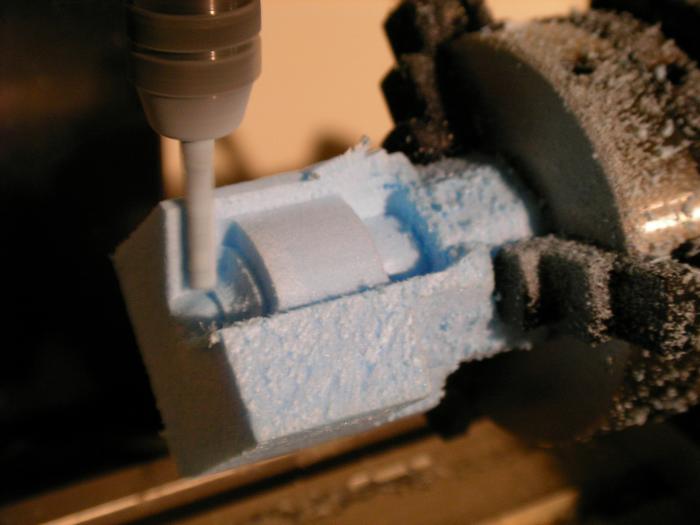
The first step was to check my g-code, in this case I milled a test from high density styrofoam. I didn't really need to as the simulation works well but it is nice to see something real.

Next thing is to ditch the foam and go for the Delrin. Looks the same as before except for two small holes. These were made using the 3mm ball ended mill that did the cutting and once 3mm dowel pins are inserted will act as locators into a base plate of MDF sitting on the mill bed that has two holes drilled in exactly the same positions.

But, what happens when you get all the way through? Remembering I will not be cutting the part in one pass, how can it be supported. One way is to add tiny tabs onto the part holding it to the outer "frame". These are a pain to add in the CAD and I hoped I could avoid such messing around with a little trick. I suggested this idea to Andy Birkett when he milled a tiny fan for use on a micro hovercraft, he said it worked a treat (to my surprise). I am sure it is not an original idea but I like it anyway. Essentially the idea is to fill the cavity in the block with wax, let that go hard and then skim it flat before flipping it over to mill the other side. The wax provides a support to the plunging forces and also grips quite well on finishing passes.
Wax is messy, I didn't want to go into the kitchen to do that stage so I came up with me el-cheapo crucible. A piece of bent ali plate and a hot air gun.
That worked great and here you can see the cavity filled with wax. It takes a long time for the wax to harden fully but it is worth waiting, cooling under water can cause it to be weaker I think. Also don't think about just dripping wax on, it needs to go in as one so it forms a monolithic block with strength.
The excess was just scraped off with a Stanley knife blade.

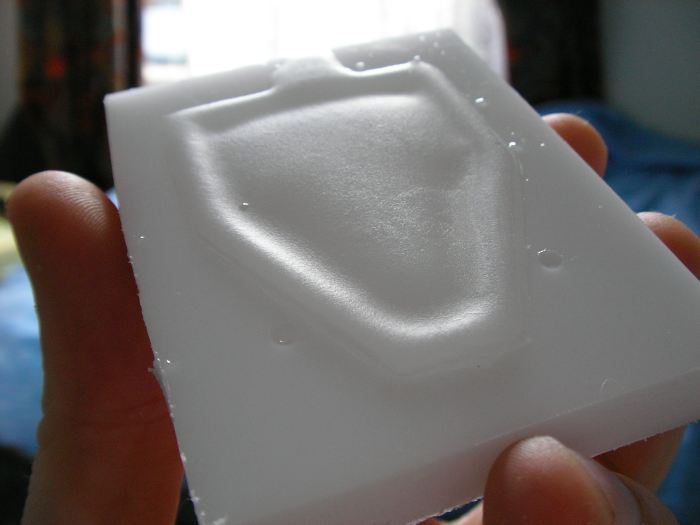
This pic shows the result after milling the other side, the holes around the pins look big because they did not come all the way through and I could not shorten the dowels to I drilled them from this side with a larger drill until I met the original hole.:
You can see the wax left over as it lets more light through.
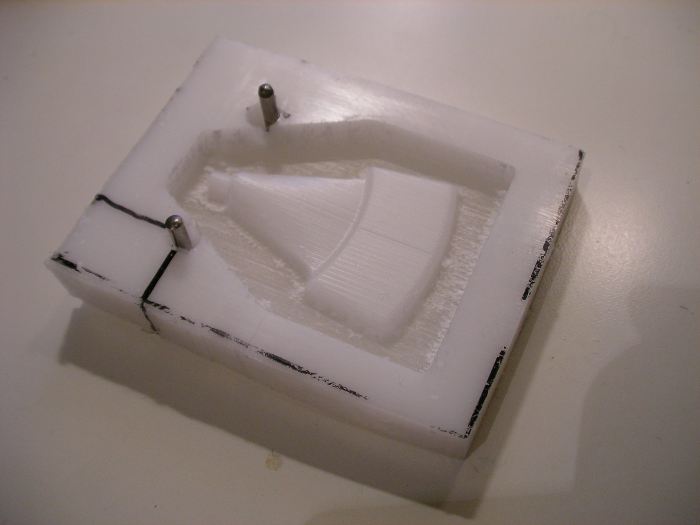
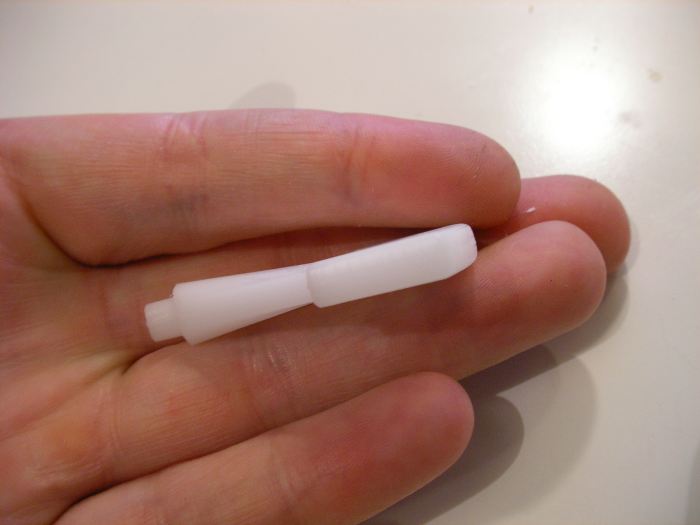
Crack, the blade is set free.
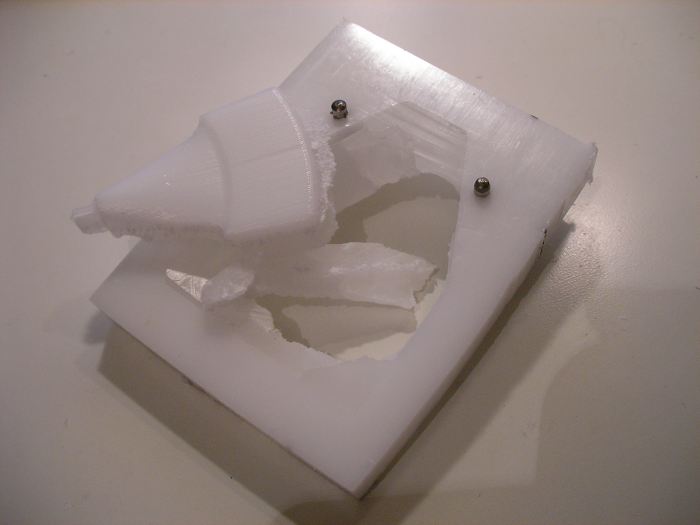
Looks good after the application of some hot water.
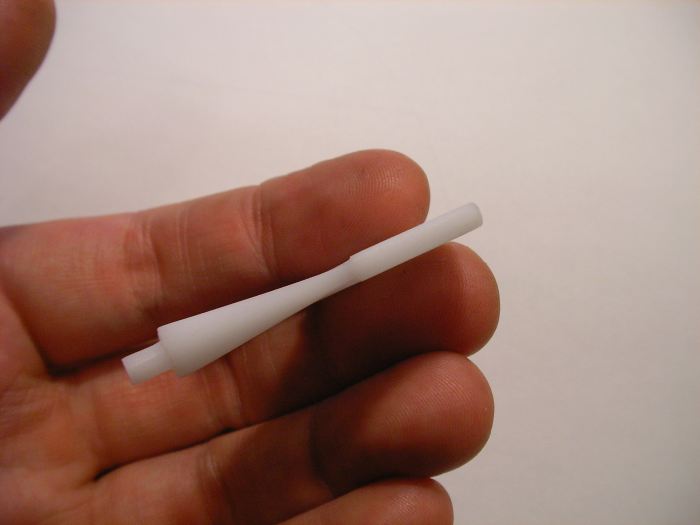
DOH! I forgot that in order for this to work the axis of rotation needs to be at exactly half the thickness of the block. In other words the center of the little peg coming out of the blade needs to be at -5mm in z for my 10mm thick sheet. The result is a seriously thick blade. What a bummer but it proved the concept.
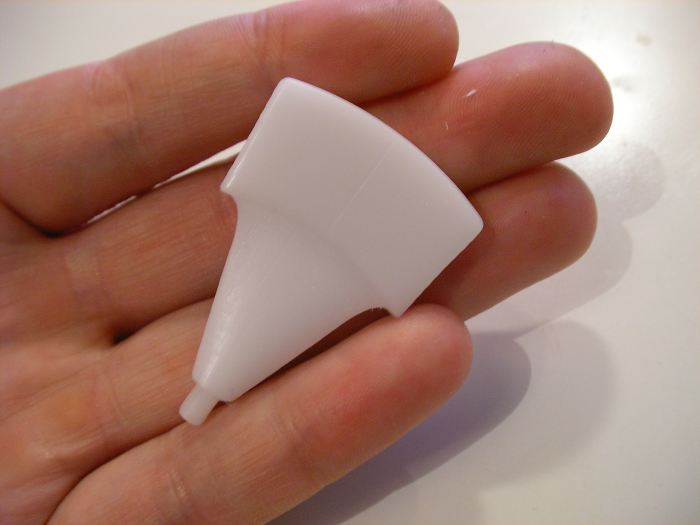
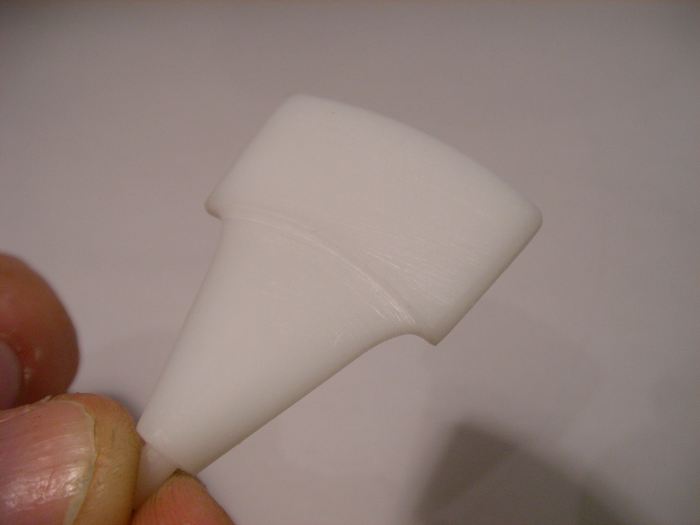
Round 2, Got straight back on the horse for a second go after re-jigging the CAD, the result is most pleasing.
The Hub
The hub in some ways looks a simple affair, certainly it would be if I had a CNC lathe and a dividing head. I don't have the former but I do have the latter. I decided to use the mill a little bit like a lathe except I would not spin the workpiece I would mill its profile and then index it by a small amount before repeating the process. I would be using my 4th axis for this even though I would not be using the real y axis.
The easiest way to program the mill to do this was to cheat. I took the profile of the hub and then extruded it to make a Dado rail type surface. If I produced g-code for this but connected a rotary axis instead of the y axis then it would produce the form I wanted. Here is the simulation of the flattened form:
Here is a test run in blue insulation foam, the cutter produces the profile, the rotary axis rotates a tad and then the cutter goes back again.
To see it in action you can watch the video:
You need the divX codec to watch the video, please get it from here for free. DivX just makes the file much smaller and is a very common requirement for videos on the web these days, note that you don't need to insert your email address to download.
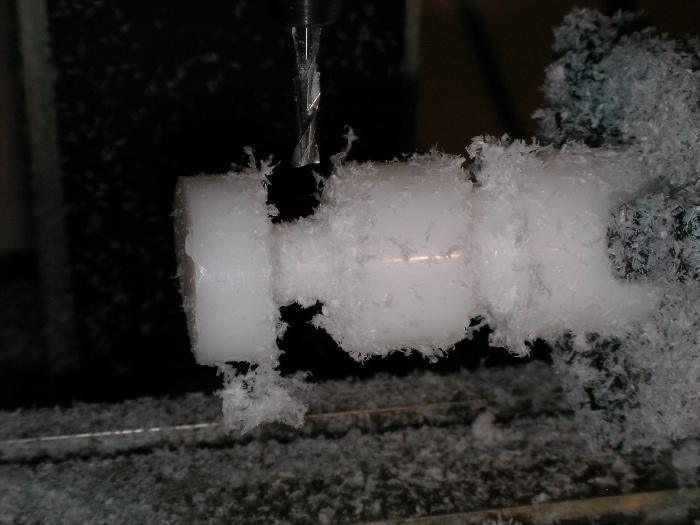
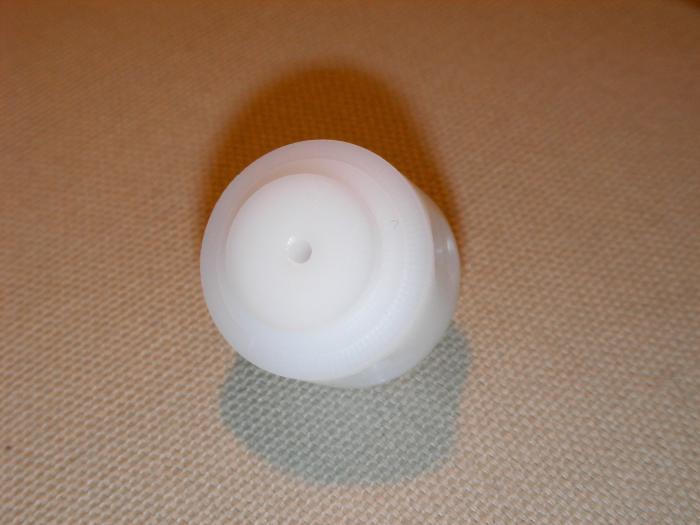
Here is part way through the roughing process in Delrin, it is always Christmas if you mill delrin. In the roughing I was going down about 2mm at a time with the 3mm cutter. It gets rid of the bulk of the material quickly. Unlike the foam I could not machine the delrin in a single finishing procedure as a 10mm deep cut as it is near the dome of the hub is far to deep.
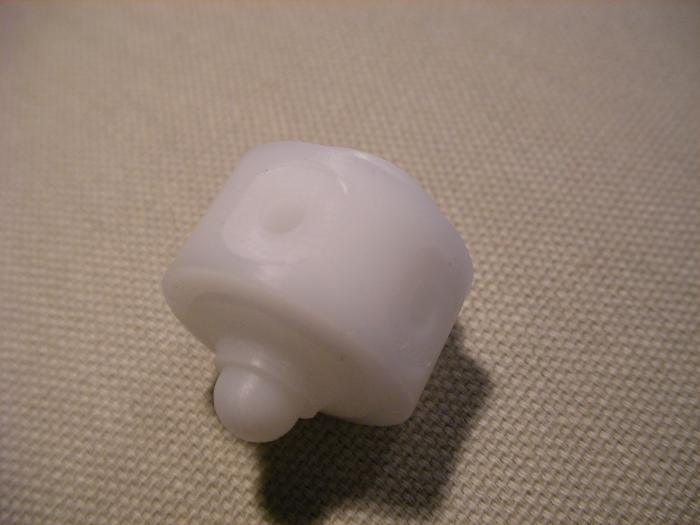
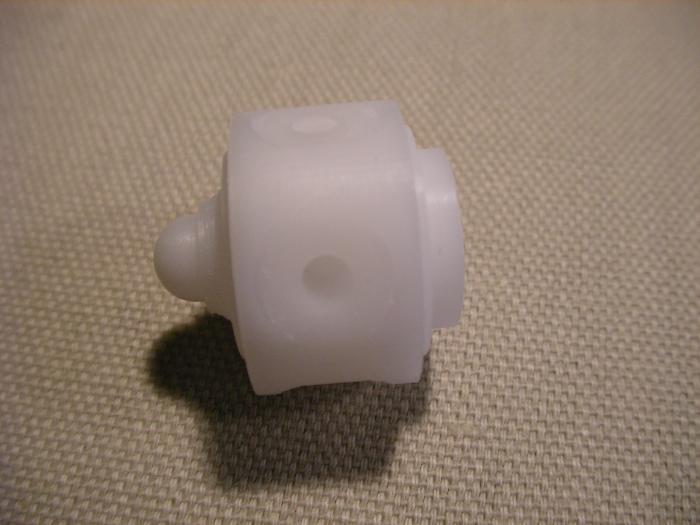
The final result with no finishing other than removing the fine burrs from the edges with my finger nail.
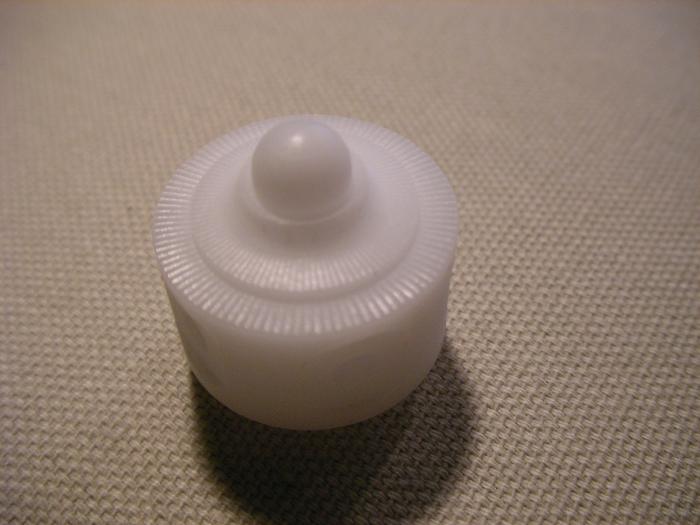
You can see the machining marks on the front face, I think it looks classy but I am not sure they can stay if it is to be a scale model.
I did the sockets for the blades as a separate procedure, I pocketed out a shallow area at the diameter of the blade root and then drilled a pilot hole ready to accept the blades. This time the real y axis was connected as I wanted these parts to be flat. The rotary axis was then just rotated by 72 degrees before I ran the same program again. It only took about a minute per socket so I did not bother to automate the process in one file.
The pilot hole in the rear was done the old fashioned way with a manual lathe:
I hope there is more to come, I certainly look forward to see the parts that these masters will be used to make.