For some reason or other I ended up watching a video of a scanning mirror laser cutter/marker in action on Synrad's website. The speed of these things is amazing, I really recommend having a look. They use a CO2 laser source and with two mirrors (controlled by galvonometers) and a focussing lens and can engrave and cut at lightning speed.
This was just too much so I had to investigate in my own usual web based infomation blitz. Firstly I could not afford a new laser head and definately not a scanning head. I also thought it unlikely that I could build a scanning system from scratch (although I gave it much thought). My thoughts turned to a homebuilt laser and a gantry based laser cutter system with "flying optics".
If you don't know anything about CO2 lasers then please check out Sam's laser FAQ website, it covers almost everything.
Then if you want to see what a homemade gantry based cutting system looks like see emmision technologies excellent website. They sell plans and kits for lasers, ready made laser tubes and kits for the laser cutter itself, people do use these to do useful work cos they told me so.
Laser types:
Firstly typical CO2 lasers for laser cutting can be divided into flowing gas and sealed. Starting with sealed, these consist of a tube containing a mixture of CO2 and other gasses. Some of the gasses assist directly in the lasing process some are there to prevent the degradation of the CO2 into CO which lowers the output power and eventually prevents lazing. If you want to build a laser from scratch then sealed tubes are out because it will be as much of a job getting a decent gas combination as making the laser, never mind the cutting system. The flowing gas type of laser gets around these problems by having a constant if slow stream of gas passing through the laser cavity, this is a consumable and you need to have a tank of it by the laser during operation.
Plans and kits are available for these flowing gas lasers from Emmision technologies and others and after buying the plans I can say it is definately doable. However if you are not just in it for the fun you may find the constant fidling for alignment and the cost of gas to be a problem with this type of laser. They also require high voltage supplies that although not difficult to make using neon sign transformers are something not to be sniffed at danger wise.
More practical than a homebrew flowing gas laser is to buy a sealed tube complete with output optics. You supply the HV and water cooling at it should provide laser light with good reliability.
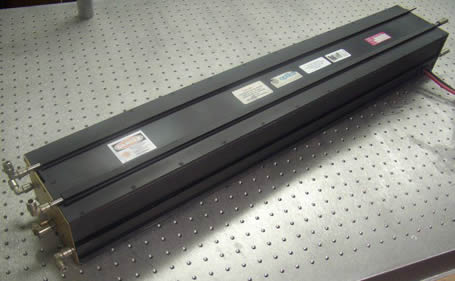
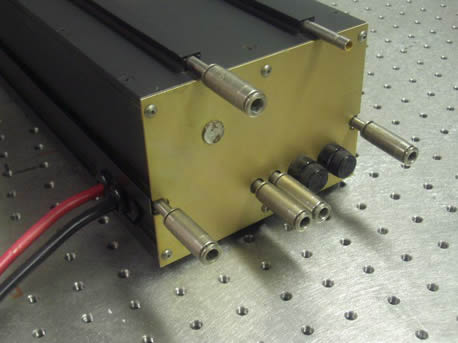
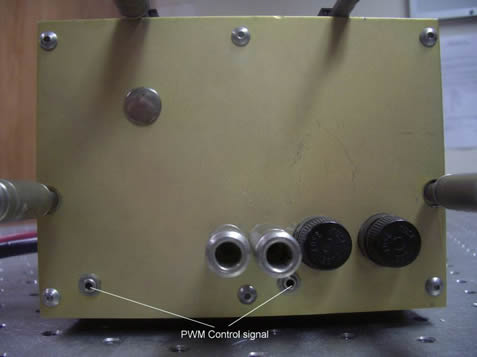
However I managed to go a step further. I tracked down some surplus Synrad 50W lasers, these are metal waveguide, RF excited sealed CO2 lasers. They require only 30V DC and have an inbuilt RF generator and amplifier which produces radio frequency radiation to excite the cavity. To cut a long story short and to quote a user of a Synrad "they are reliable as the sun". You put DC in and a control signal and the laser lases. The lifetime of a synrad before requiring a refill is about 45,000 hours which should do me.
Since getting the laser I have stalled on the project, it needs some cash spending on optics to cut a long story short. I have managed to knock up some basic water cooling and I will hopefully post some pictures of that shortly (today is 9th March 06).
Oh and no the optical bench is not mine, I had the laser at work briefly for a quick test run.